Launching Sunflower
In the sunflower-studio-ce folder, double-click the Sunflower executable to launch the application. A dialog box opens up to ask where Sunflower should keep your work in progress, as shown in Fig. 4. Specify a folder location on your system for this workspace and click OK. The folder location is automatically created if it does not yet exist. To use an existing workspace, use the Browse button to navigate to it and then press OK.
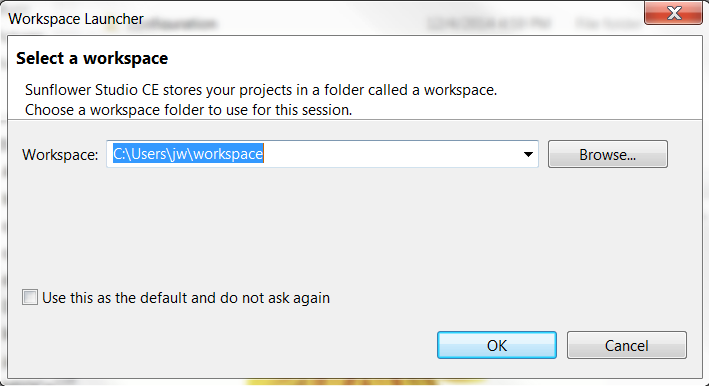
Fig. 4 User is asked to specify a folder location for the Sunflower workspace
Next you will see a Sunflower End User License Agreement dialog window, scroll down to read the agreement, then check Yes to accept it, and press OK, as indicated in Fig. 5.
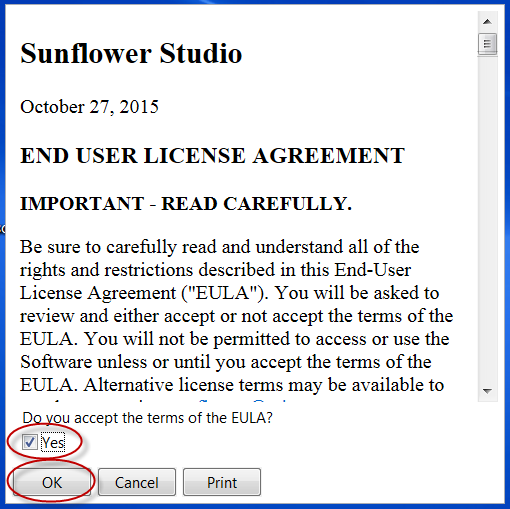
Fig. 5 User is asked to accept the Sunflower End User License Agreement
If a new workspace is specified when installing Sunflower, the system starts out initially with an empty navigator tree, as shown in Fig. 6. Projects must be created or imported. See Section Loading a project on how to load an existing project into Sunflower.
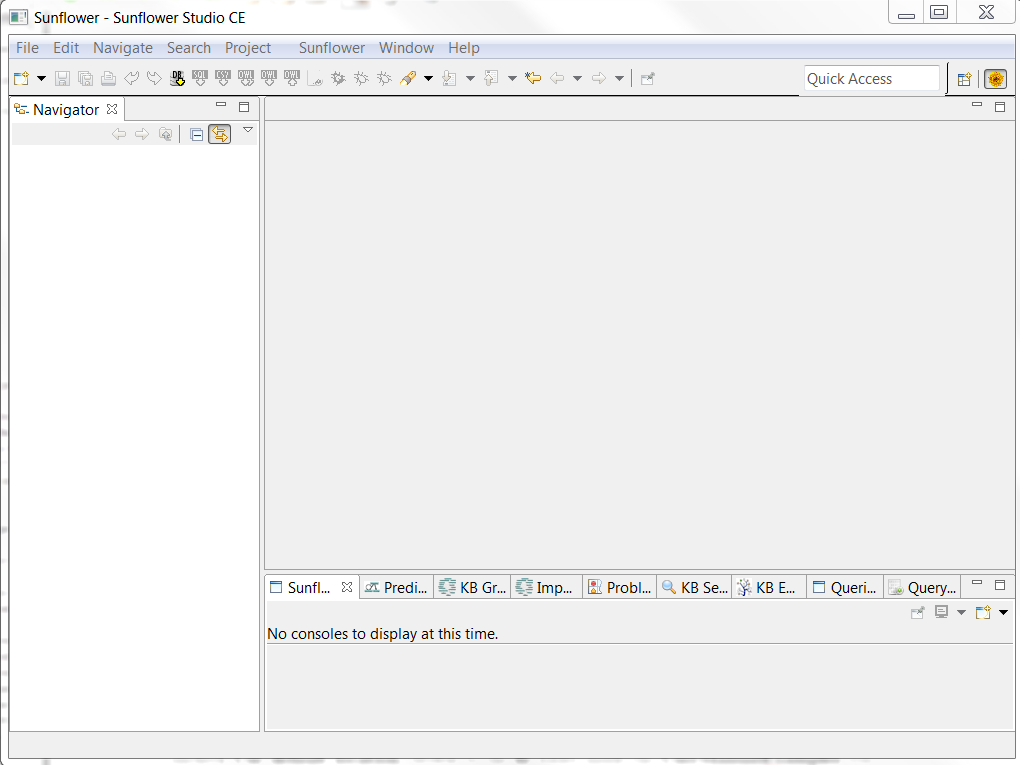
Fig. 6 Sunflower GUI starts out with an empty navigation tree
If an existing workspace is specified when installing a newer version of Sunflower, the Update Core function should be applied to projects in the navigation tree. To do this, click and highlight a project. Then select the option Update Core from the right-click menu, as shown in Fig. 7. Update Core brings all Sunflower core modules up-to-date for the project.
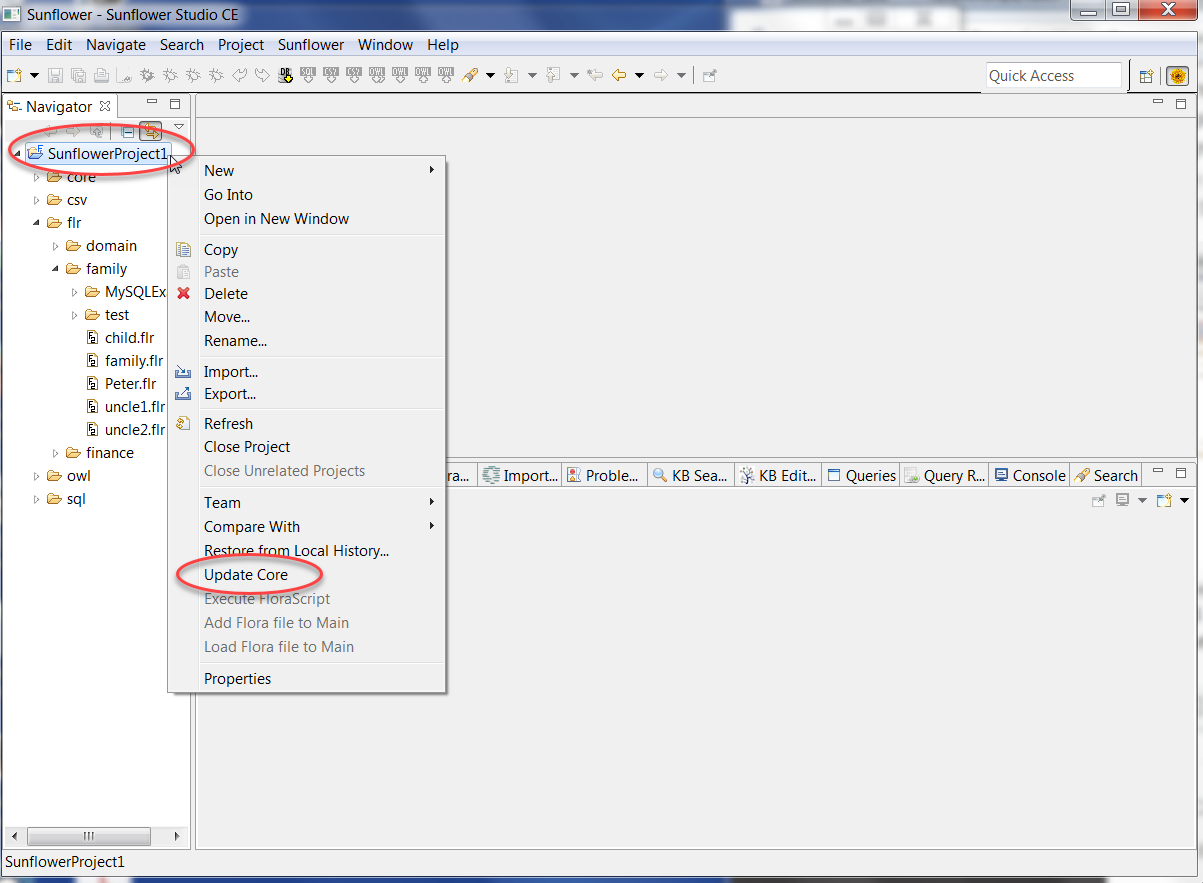
Fig. 7 Update Core should be applied to projects of an older workspace