Configuring MySQL Support
Sunflower contains XSB and Flora-2 installations that support integration with MySQL databases. To utilize this capability, XSB and Flora-2 need to be configured to know where your MySQL database installation and configuration exist. The following explains how to do this on a Windows system and on a Mac System.
Configuring MySQL Support on Windows
Start by downloading and installing MySQL server 5.6.23 from <http://dev.mysql.com/downloads/>. You may use either the installer or the archive versions of MySQL. Install and configure MySQL according to the specific distribution’s instructions.
While most installation settings can be left as their defaults, do select the “Full” configuration, as shown in Fig. 15.
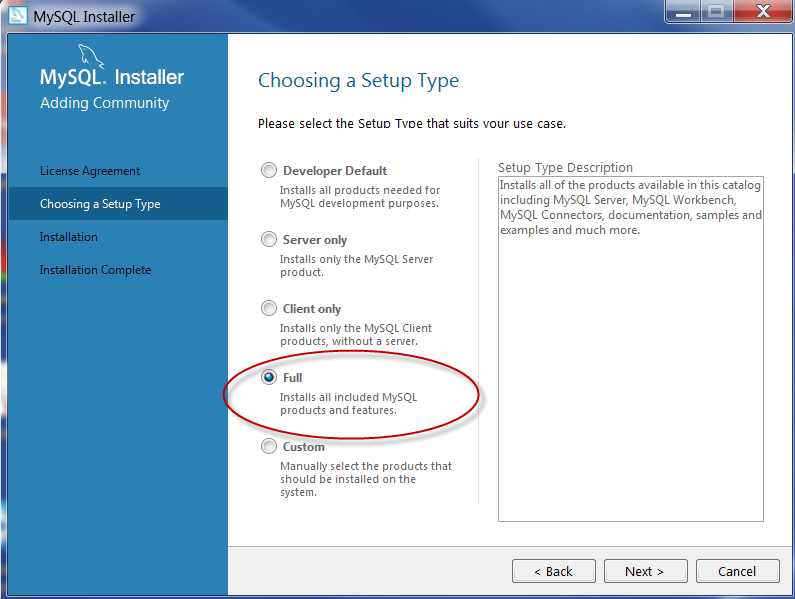
Fig. 15 Choose “Full” configuration for MySQL installation
And also be sure to remember your choice of password for the administrative root account.
Once MySQL is installed, you will need to add additional environment variables to inform the Sunflower XSB and Flora-2 installations about MySQL.
On Windows, it will require administrator access in order to modify the environment variables. Click to activate the Start menu, and choose Control Panel. Then click System and Security followed by System to open the System control panel.
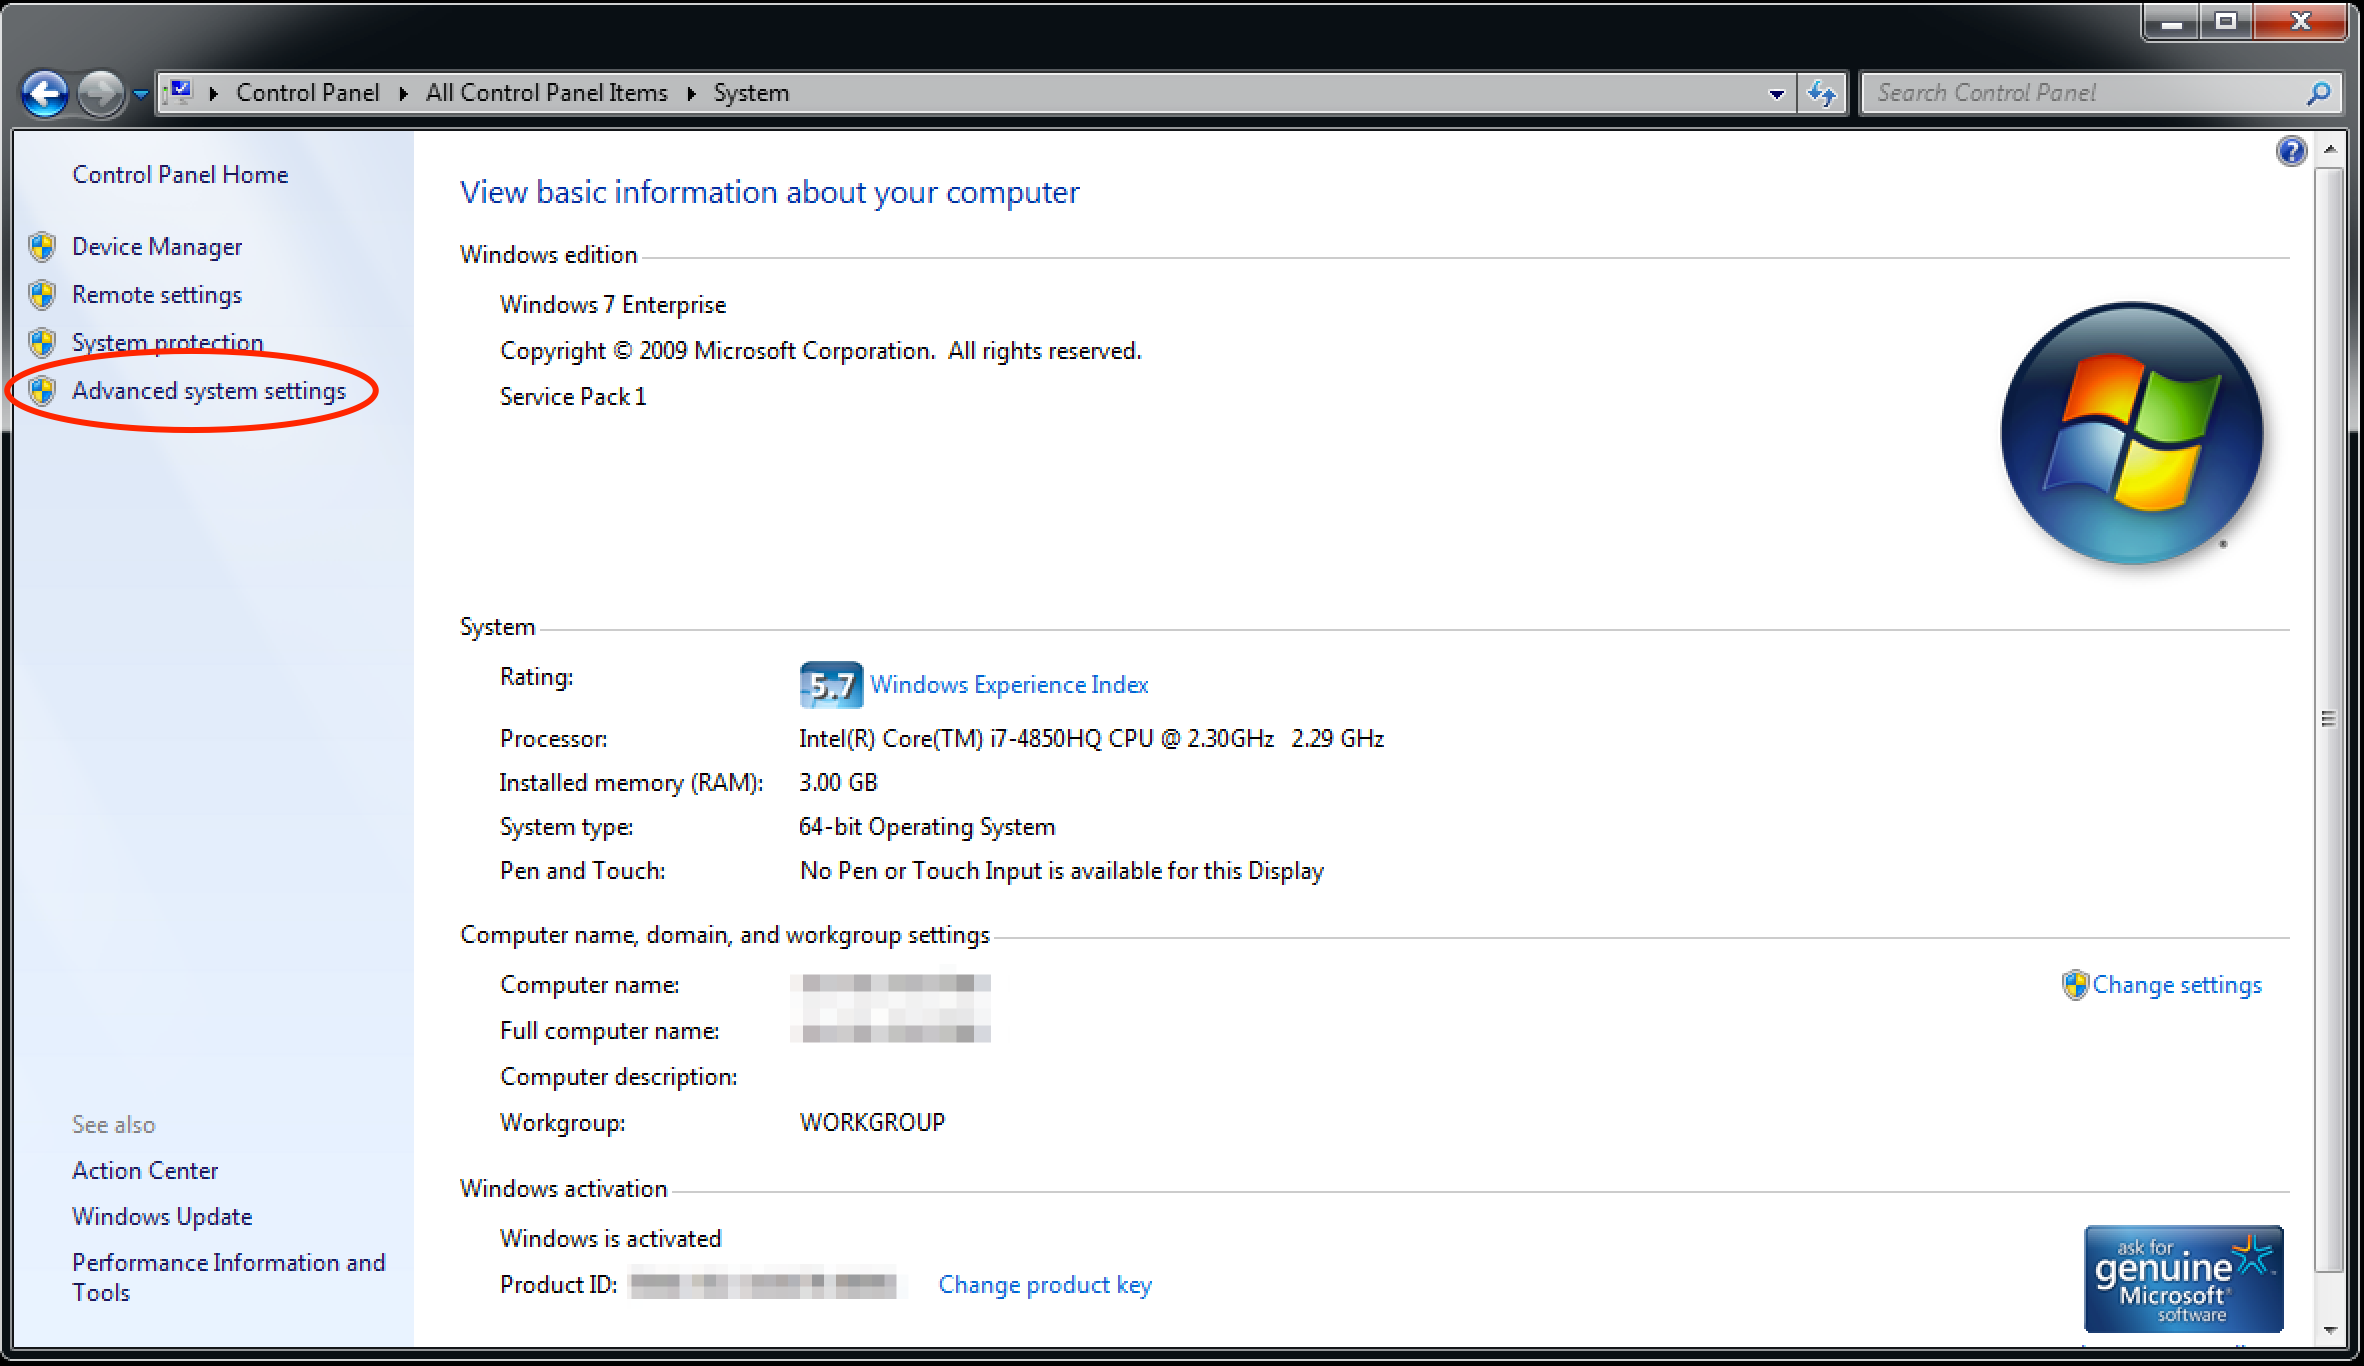
Fig. 16 From the System control panel click on Advanced System Settings
Click the Advanced System Settings on the left to open the System Properties window, as shown in Fig. 16. You may be prompted to authorize the opening of the System Properties windows by the operating system. On the System Properties window, click the Advanced tab, then the Environment Variables… button, as in Fig. 17.
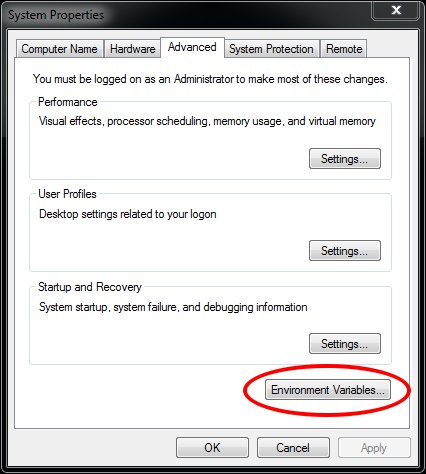
Fig. 17 Click the Environment Variables… button.
In the Environment Variables window, beneath User variables for… click the New… button. This will open the Add User Variable dialog box, as in Fig. 18.
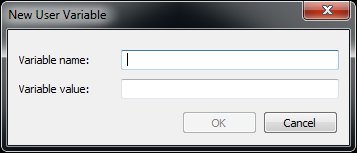
Fig. 18 Add User Variable dialog box
For Variable name, enter MYSQL_HOME, and for Variable value, enter the path to your MySQL server installation. The default location is C:\Program Files (x86)\MySQL\MySQL Server 5.6. Then click OK to save the value. Use MYSQL_HOME to update the environment variable Path so it contains the MySQL installation.
For a listing and explanation of Windows environment variables and values mentioned above, see Table 1.
| Variable name | Variable value |
|---|---|
| MYSQL_HOME | Absolute path to where MySQL server is installed. |
| This folder should contain bin, includes, and lib | |
| folders. | |
| Path | Prepend or add %MYSQL_HOME%;%MYSQL_HOME%\bin |
Once the necessary environment variables are in place, start the MySQL server as user root. In Windows, one way to do this is to bring up a Command Prompt window with administrative privileges Start > Command Prompt > right click menu > Run as administrator, as shown in Fig. 19.
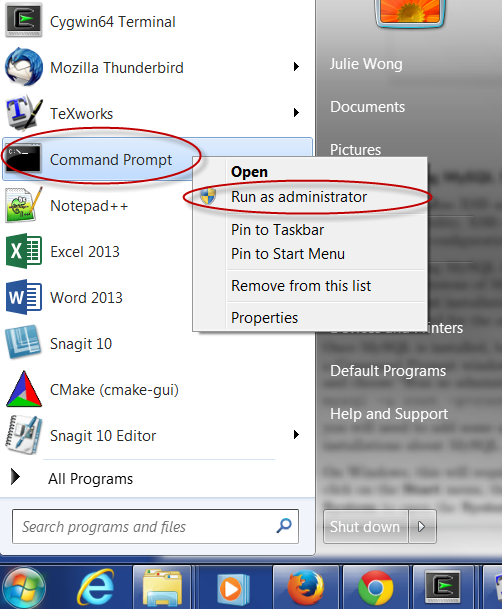
Fig. 19 Use Start > Command Prompt then right click menu to bring up a Command Prompt window with administrative privileges
In the Command Prompt window, type:
mysql -u root -p<root-password>and hit return. This will start the MySQL server. The root-password is the MySQL root user password set previously when you install MySQL. In the example shown in Fig. 20, this password has been previously set to rootpswd.
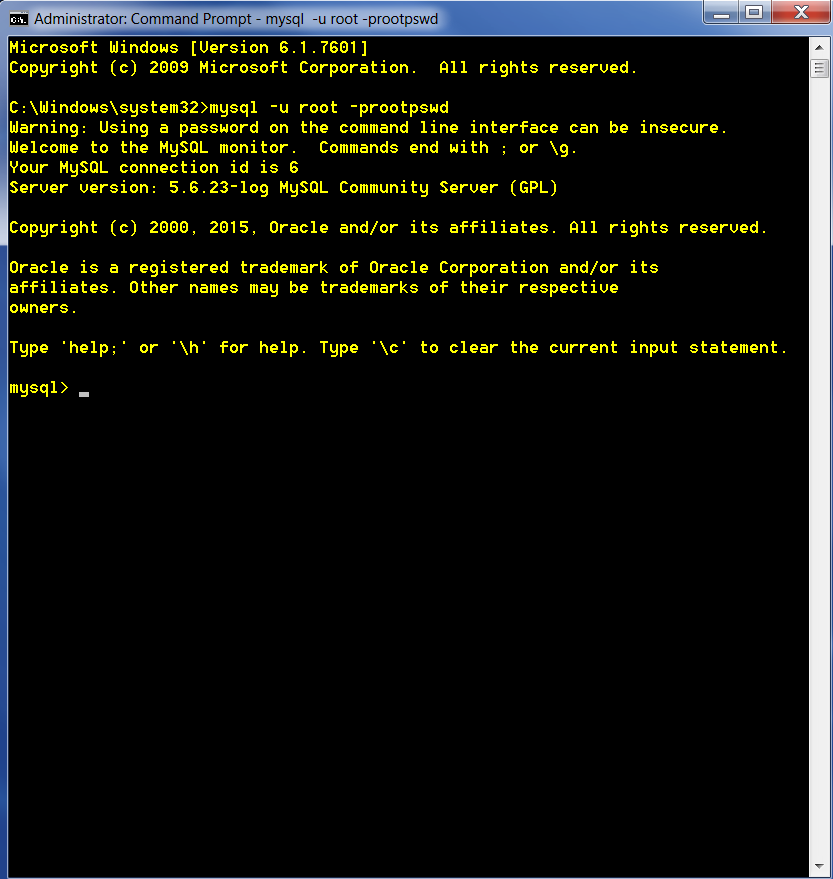
Fig. 20 MySQL server started in Command Prompt window
At the MySQL prompt, type the following 2 commands, as shown in Fig. 21.
CREATE USER 'florauser'@'localhost' IDENTIFIED BY 'florapass';GRANT ALL ON *.* TO 'florauser'@'localhost';This will create a custom MySQL account called florauser. This account can now be used to make all MySQL database creations and connections from Sunflower.
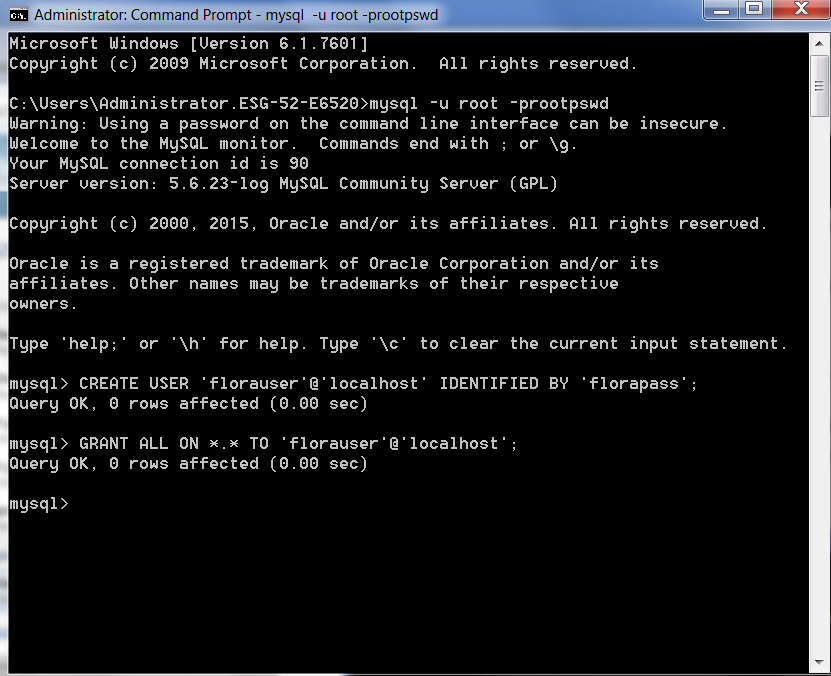
Fig. 21 User account florauser added to MySQL
If you plan to use the MySQL features in your Sunflower session, be sure to have the MySQL server running before launching Sunflower.
For an example of loading and using a MySQL database with Sunflower, see Section Working with a MySQL Data Base.
Configuring MySQL Support on Macintosh OS X
Start by downloading and installing MySQL server 5.7.18 from <http://dev.mysql.com/downloads/>. Please be sure to use the DMG archive installer. Once download is complete, double click the installer package to start installation.
While the installer does permit you to customize installation, it is recommended that you use the Standard Install, as shown in Fig. 22.
Make note of the root user password if the installer automatically assigns one for you. Also note that Sunflower assumes and automatically configures the standard installation location on the Mac for MySQL, that is, /usr/local/mysql.
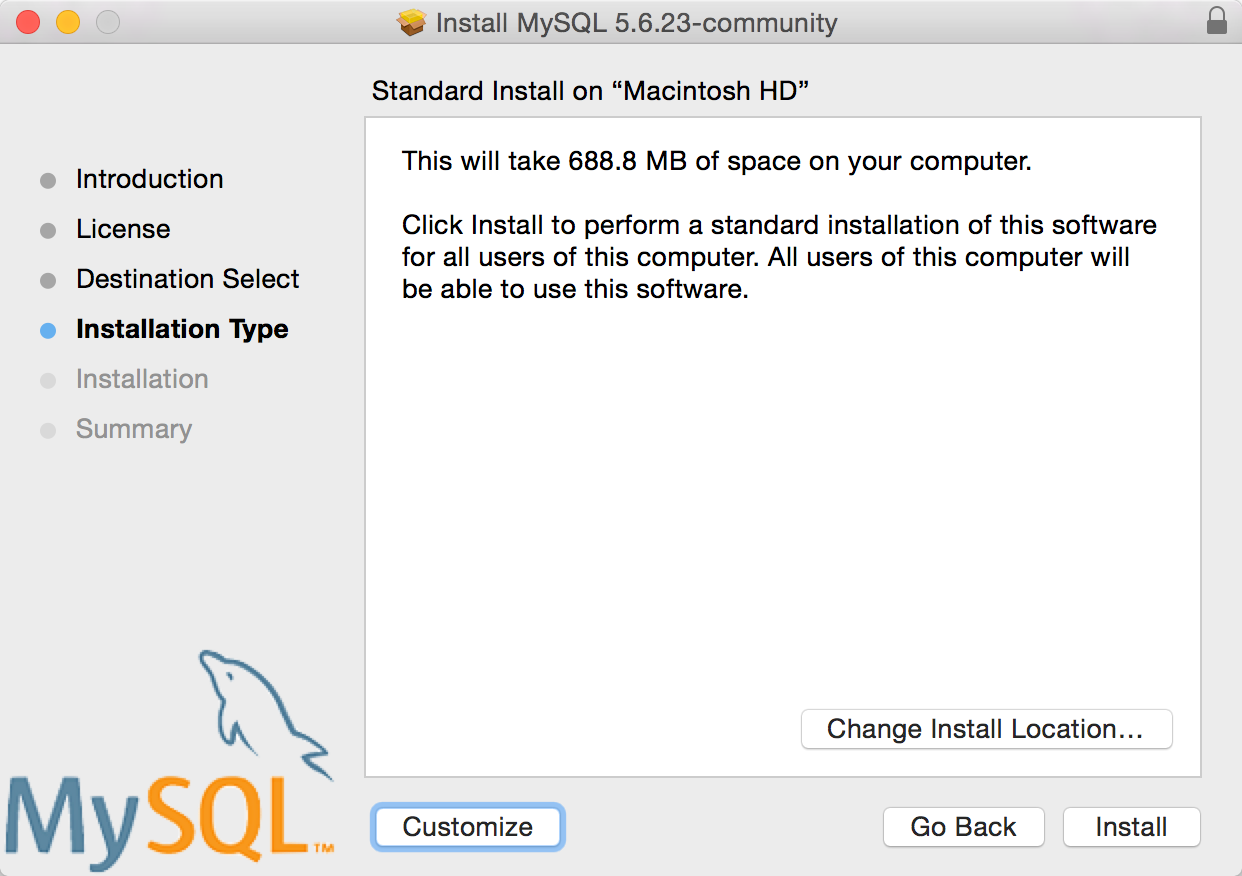
Fig. 22 Use the “Standard Install” for MySQL installation
Ensure that you have MySQL running before proceeding. To do this, open System Preferences… and select the MySQL preference pane. See Fig. 23.
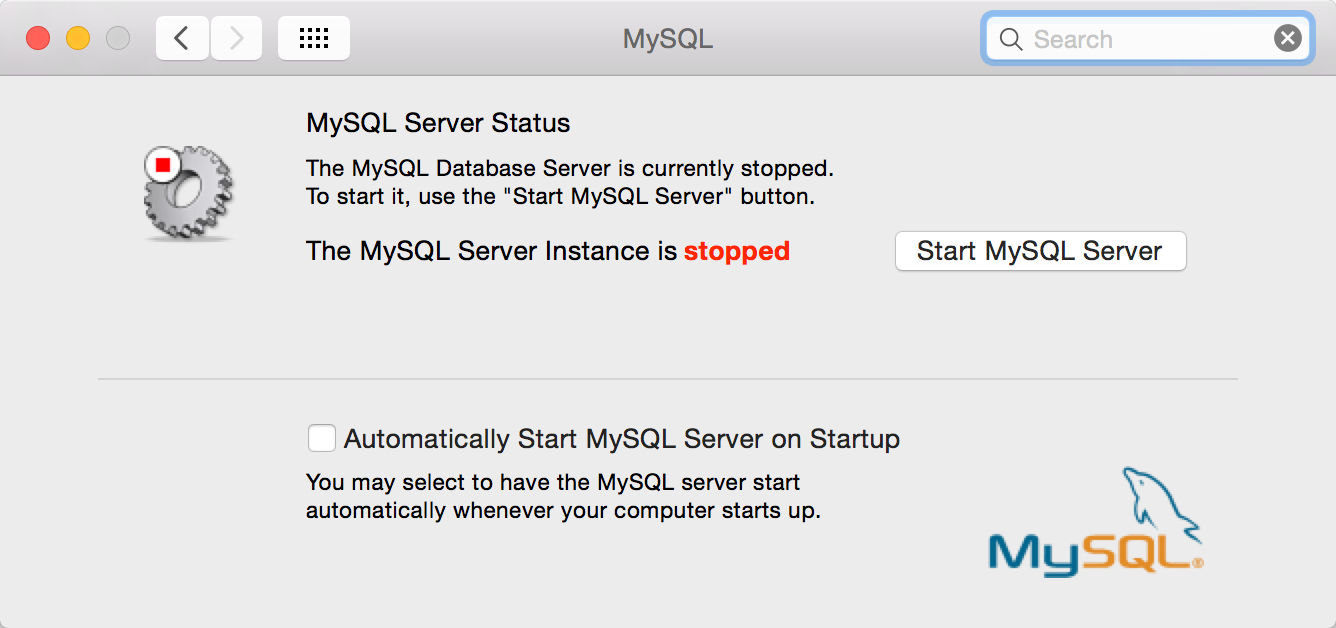
Fig. 23 MySQL preference pane in OS X System Preferences showing MySQL server stopped
If MySQL is not running, click the Start MySQL Server button. Here you will be prompted to enter your credentials. Once MySQL has started, you will see its status change to running, as seen in Fig. 24.
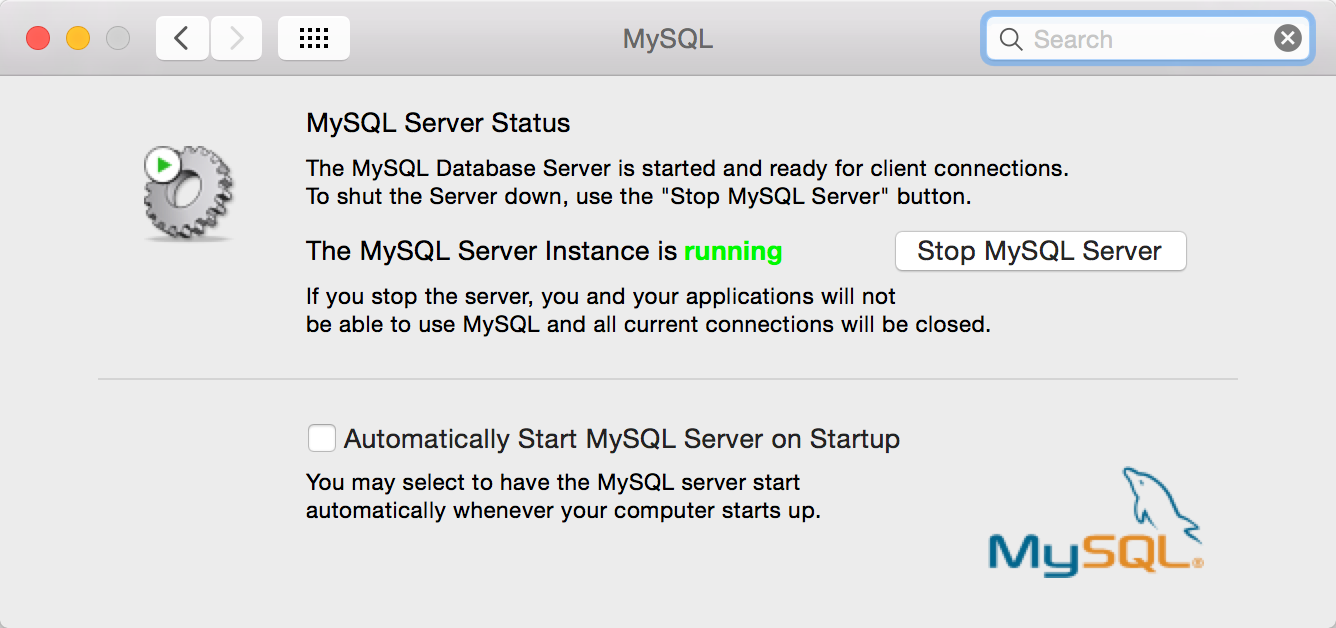
Fig. 24 MySQL preference pane in OS X System Preferences showing MySQL started
Next we need to add a database user to MySQL that will be used to connect from Sunflower. Return to the Terminal application window and type at the prompt:
/usr/local/mysql/bin/mysql -u root -pMySQL will ask for the root user’s password.
Enter password: <root-password>The root-password is the MySQL root user password set previously when you install MySQL, either automatically by the MySQL installer or by you. If you did not set a password for the root user, just press the Return key when prompted to enter the password, as shown in Fig. 25.
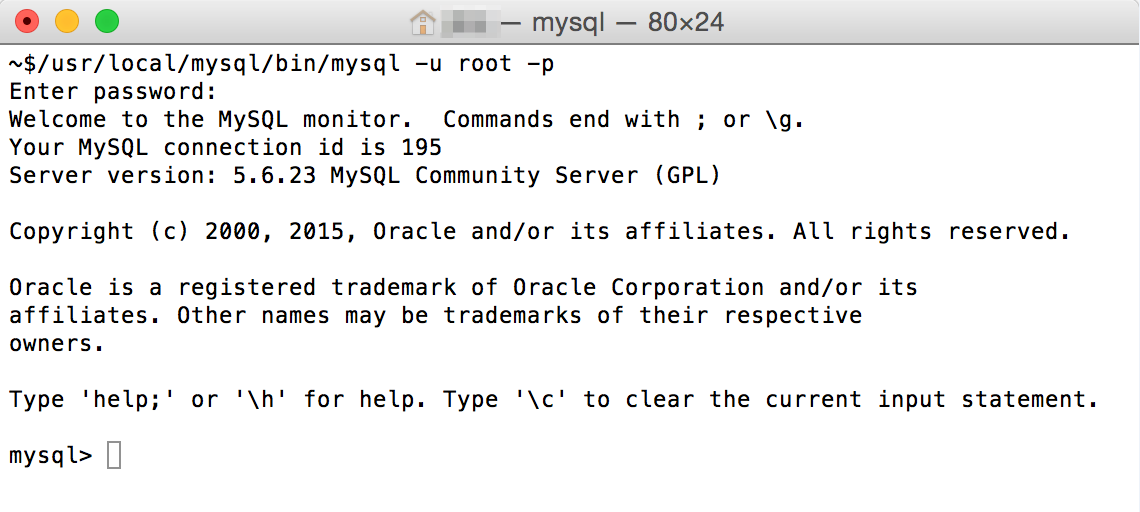
Fig. 25 Logging into MySQL from Terminal
At the mysql> prompt, enter the following command to change the MySQL root user passwrod before proceeding further. Here we choose rootpw as the new password, but you may use any password you prefer, as long as you remember it for later use.
ALTER USER 'root'@'localhost' IDENTIFIED BY 'rootpw';Again at the mysql> prompt, enter the following 2 commands to add a new user and grant them permissions on the database:
CREATE USER 'florauser'@'localhost' IDENTIFIED BY 'florapass';GRANT ALL ON *.* TO 'florauser'@'localhost';This will create a MySQL user account called florauser as seen in Fig. 26. This account can now be used to make all MySQL database creations and connections from Sunflower.

Fig. 26 User account florauser added to MySQL
To load and use a MySQL database with Sunflower, see Section Working with a MySQL Data Base for an example.