Section Configuring MySQL Support discusses how to install the MySQL server and how to set up a MySQL account for Sunflower. In this section, we will give an example of how to import .csv files into a MySQL data base, and retrieve data records from the MySQL data base for query executions. These operations all require that MySQL is running and the Sunflower MySQL account has been set up. Refer to Section Configuring MySQL Support for these prerequisites.
Configuring MySQL for Mac
If you are running Sunflower on Windows, you can proceed directly to the next section.
If you are running Sunflower on a Mac, you will need to specify the location of your MySQL folder in Sunflower. To do this, go to Preferences > Sunflower Preferences > MySQL Integration, you will see an input field for MySQL Home directory, as shown in Fig. 262. Use the Browse button to navigate to where the MySQL folder is located on your system and select it for input. If MySQL is installed using the MySQL installer, the MySQL folder should be /usr/local/mysql.
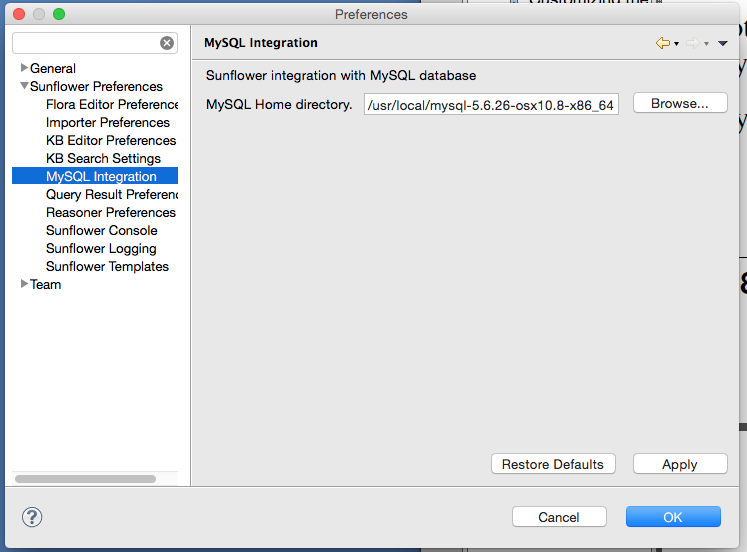
Fig. 262 Specify location of MySQL in Sunflower
If you don’t see mysql in /usr/local/mysql, try navigating to the Macintosh HD (Hard Drive) and find it there. Fig. 263 shows this navigation on a Mac where the hard drive is named Gabe.
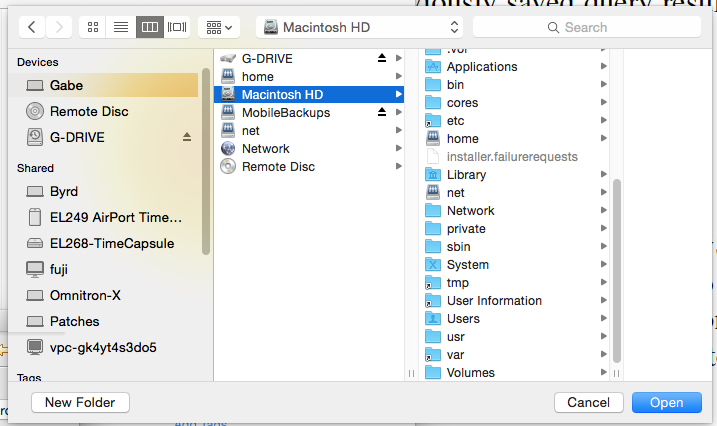
Fig. 263 Navigate to Macintosh Hard Drive on Mac
Once the MySQL folder is specified, click OK. You will be prompted to exit Sunflower and restart it. Click OK to restart Sunflower, as shown in Fig. 264.
Note that, on a Mac, each time Sunflower is upgraded to a newer version, the above steps of specifying where the MySQL folder is must be repeated.
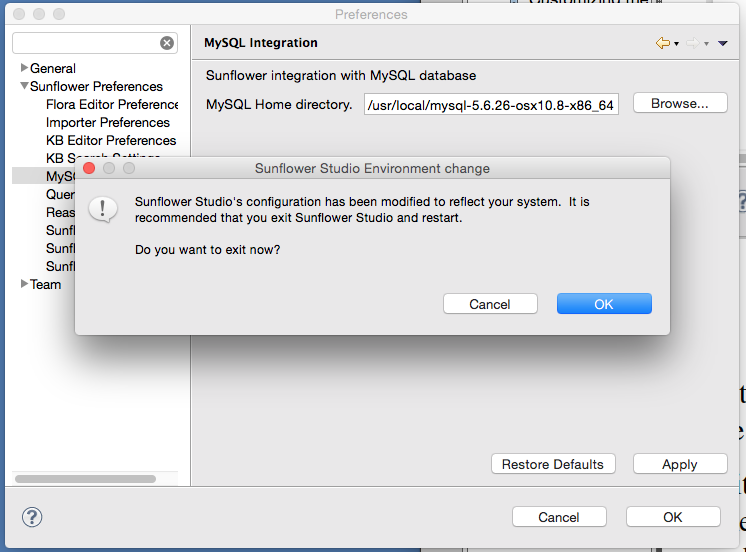
Fig. 264 Restarting Sunflower after specifying location of MySQL
Loading .csv records into a MySQL data base
In the Sunflower navigation window, expand folder flr > family > MySQLExample > data, then click to highlight the file men.csv. The Convert CSV File to SQL button in the main Sunflower menu should become activated, as seen in Fig. 265.
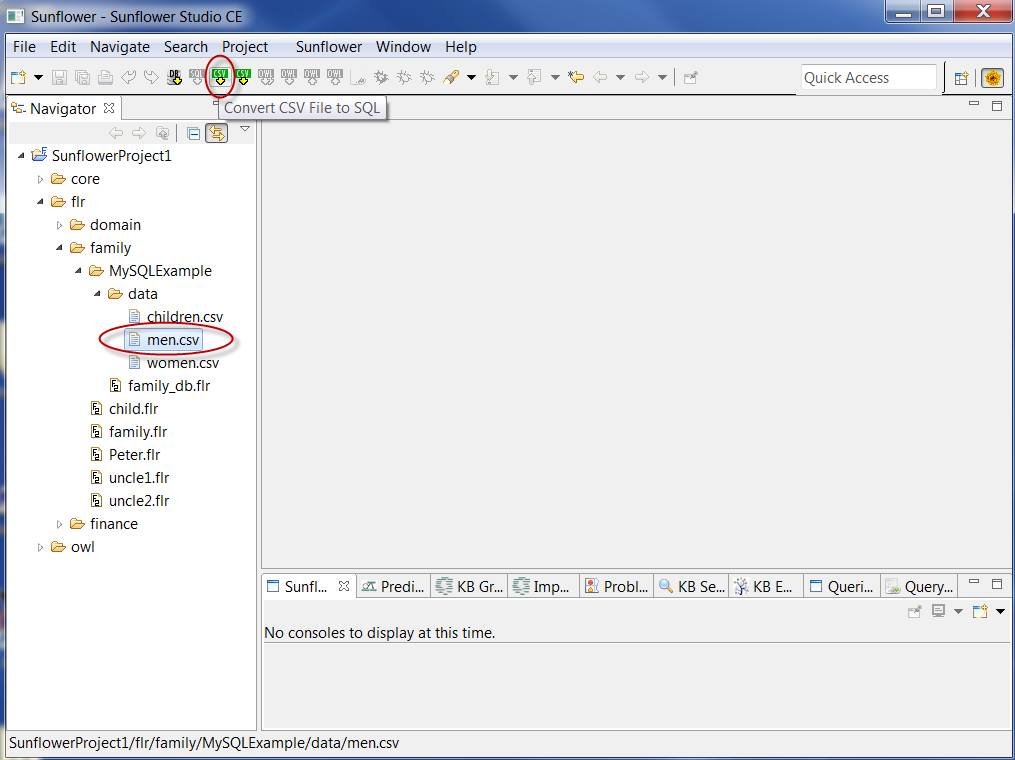
Fig. 265 CSV2SQL button is activated
With men.csv selected, click the Convert CSV File to SQL button. A folder selection window pops up for you to select a folder to output the converted SQL file. Choose an appropriate location, e.g. family > MySQLExample > data, and click OK.
A CSV2SQL conversion dialog window pops up asking for MySQL parameter values for Database name, Table name, User name, and Password. Type in floradb for Database name. Use the .csv file name for Table name, in this case it is men. For User name and Password, type in the credentials for the Sunflower MySQL account as set up in Section Configuring MySQL Support, that is, user florauser with password florapass. Check the checkboxes for Create Database, Create Table and Load Data, as shown in Fig. 266. This translates the .csv file to an equivalent .sql file, and automatically loads the .csv records into the specified MySQL table and data base.

Fig. 266 CSV2SQL-dialog window
Similarly, use the Convert CSV File to SQL button to load women.csv and children.csv into the same MySQL data base: floradb. In the CSV2SQL conversion dialog window, leave the checkbox Create Database unchecked because floradb has already been created from loading men.csv. We are simply adding more tables to the same data base with women.csv and children.csv.

Fig. 267 CSV2SQL-dialog window: Leave Create Database unchecked after floradb has already been created