Saving Query Results
Within the same Sunflower session, results from different query executions are saved in Query Results under different tabs. As long as user doesn’t exit Sunflower, old query results are accessible by clicking the corresponding tabs, as seen in Fig. 225.
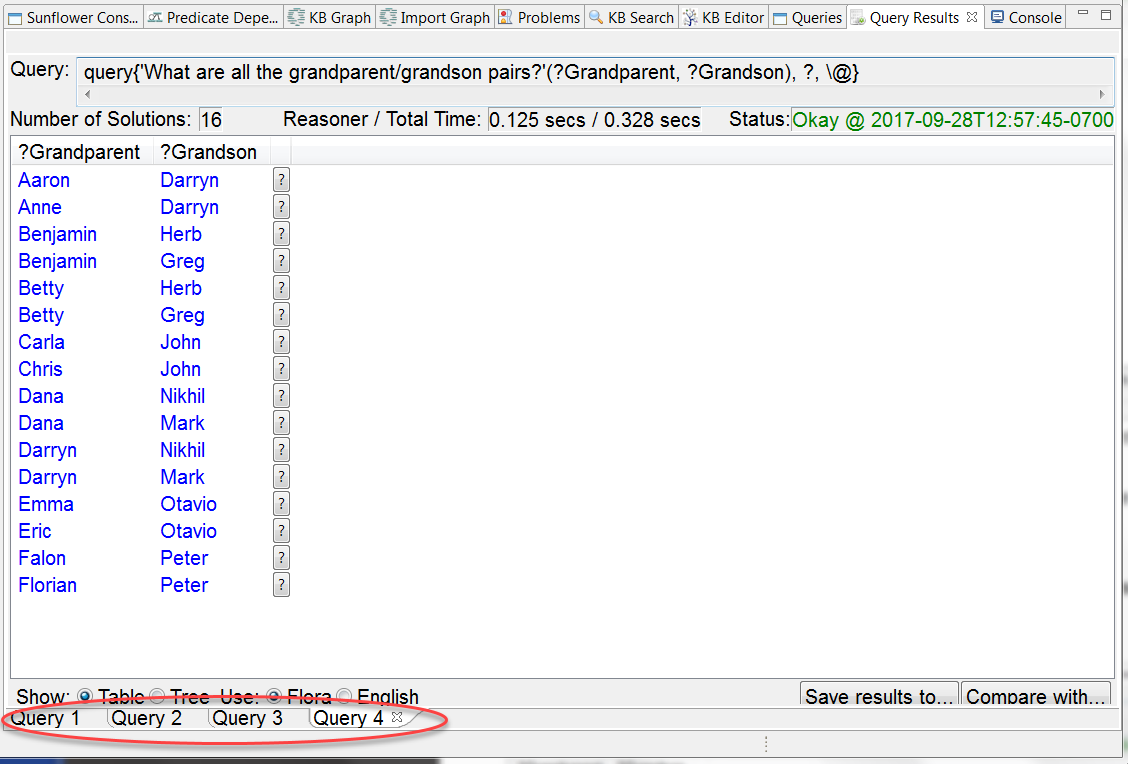
Fig. 225 Within the same Sunflower session, old query results are available in different tabs
Right click anywhere near the query results tabs will pop open a menu with the choices Close All and Close Others, as seen in Fig. 226.
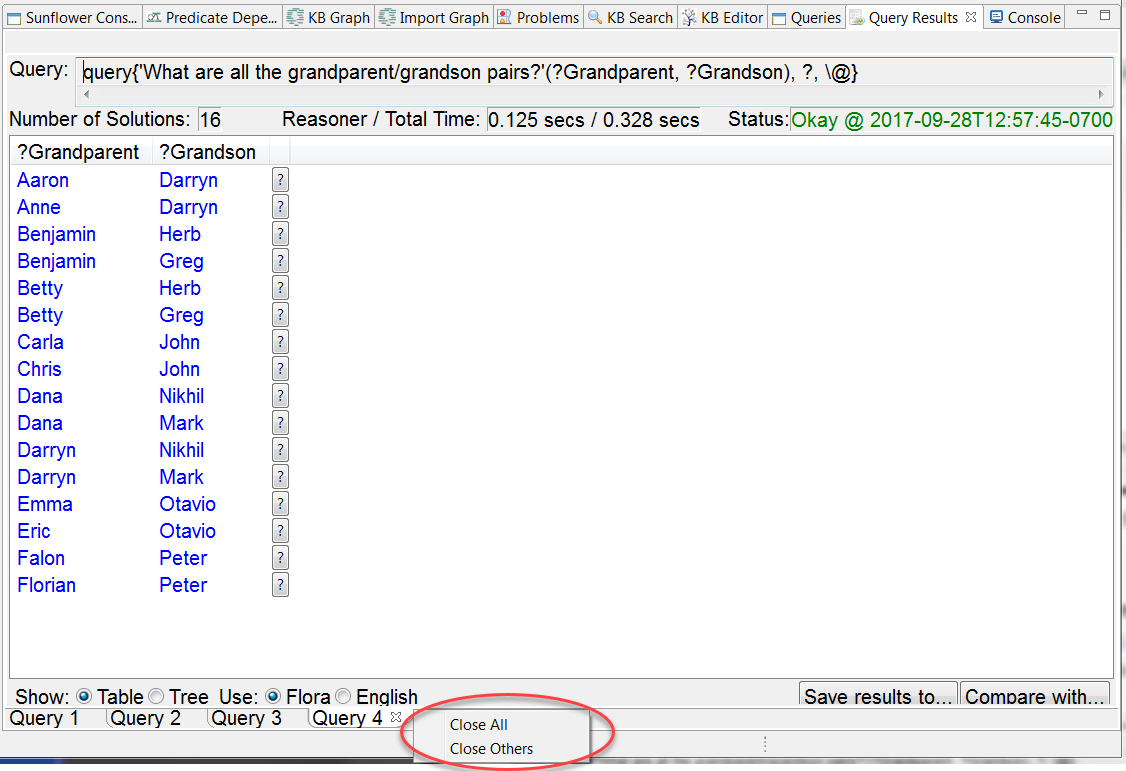
Fig. 226 Right click near the query results tabs brings up a menu with the options of Close All and Close Others
The Close All option closes all query results tabs, and the Close Others option closes all query results tabs except for the one currently in display. Fig. 227 shows only the last or current tab is retained after selecting the Close Others option.
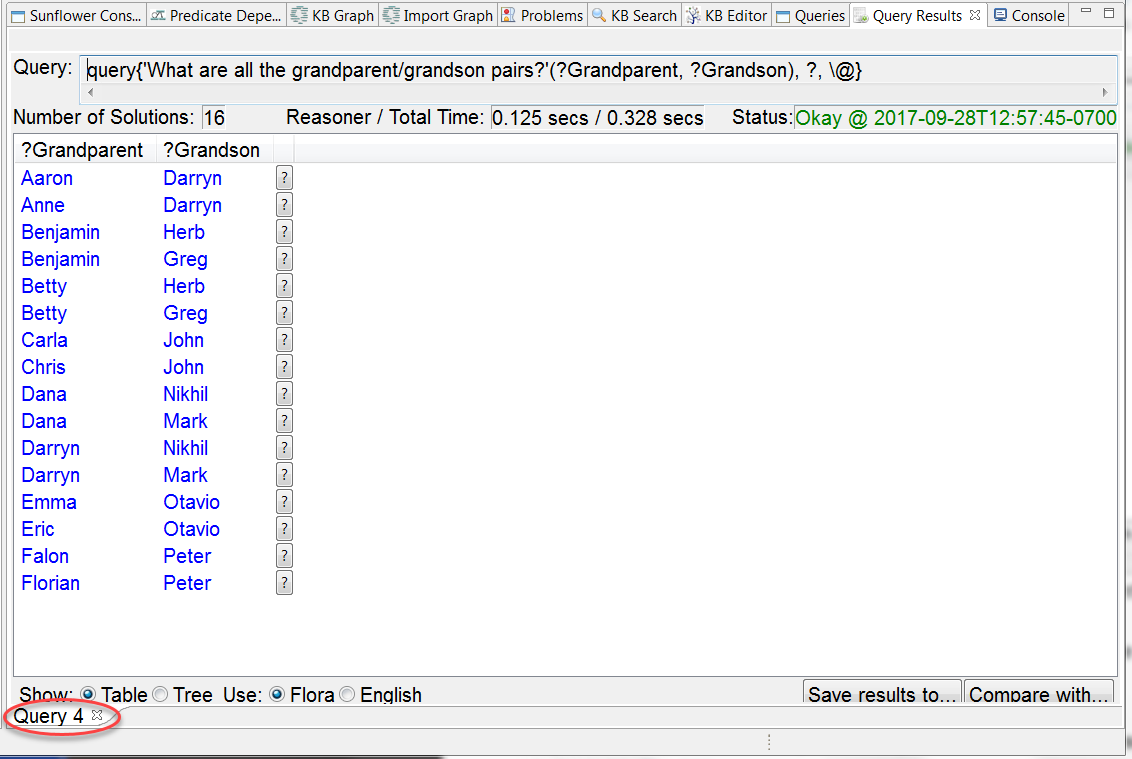
Fig. 227 The Close Others option closes all tabs except for the current tab
Once a query results tab is closed, its results are removed. To see the results again, the corresponding query must be executed again.
Query results can be saved permanently to disk with the Save results to... tab, as indicated in Fig. 228.

Fig. 228 Query results can be saved to disk using Save results to...
When the Save results to... tab is pressed, a file selection window pops open asking for the location, the name and the type of the file to save the results to. In this window, navigate to a desired location, enter a name for the file, select a file type, and press Save to save the results, as shown in Fig. 229.
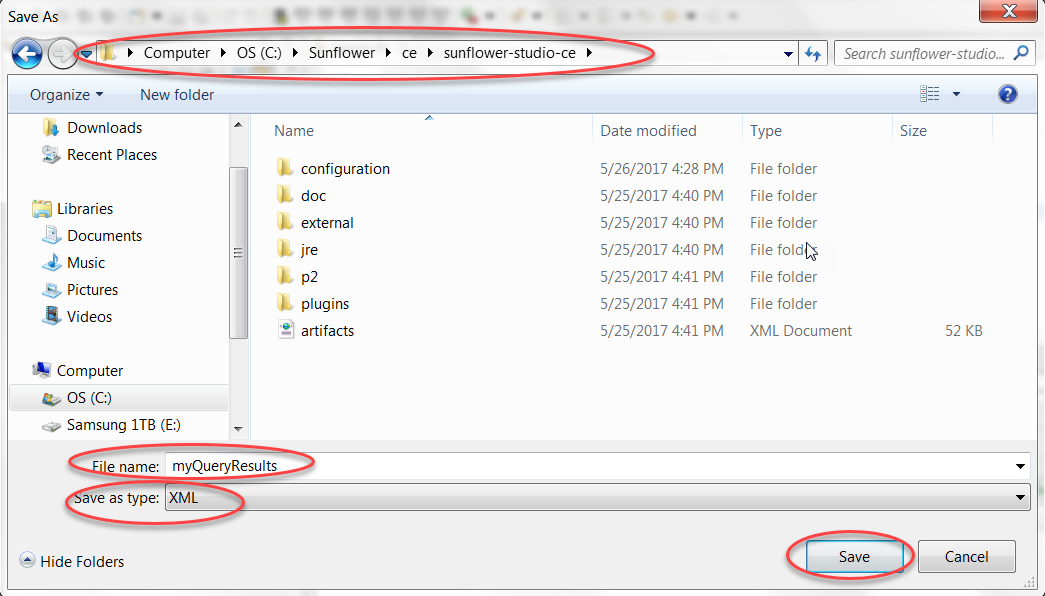
Fig. 229 Save results to... dialog window for selecting location and name of results file
Should you want to later compare the saved results to newer results, be sure to save the results as type XML, as seen in Fig. 230. The Compare with... feature, also highlighted in Fig. 228, can be used for such comparison. More information about Compare with... can be found in Comparing Query Results.
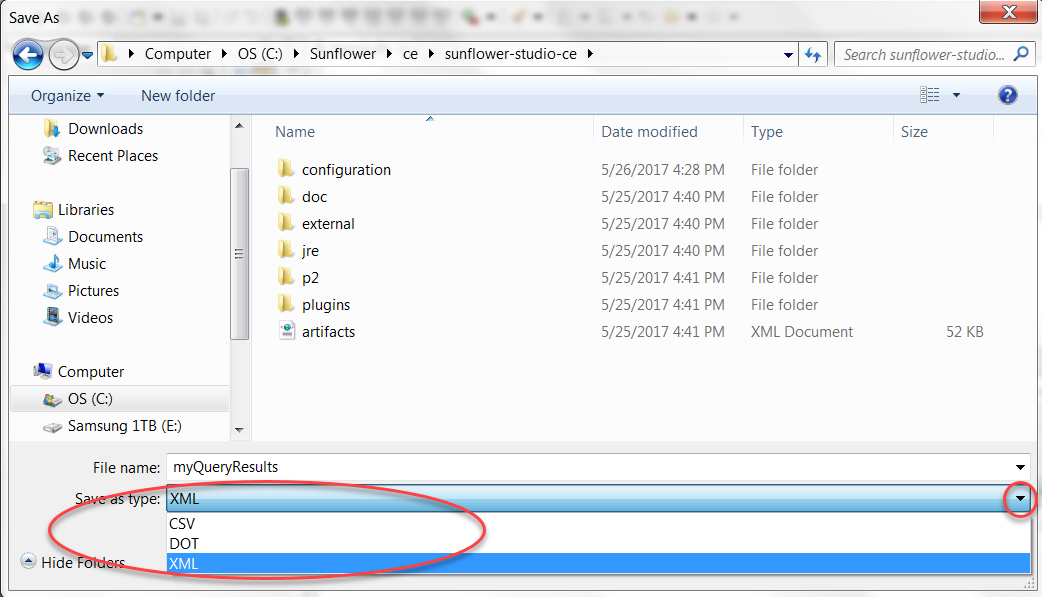
Fig. 230 Save results as type XML for use with Compare with...